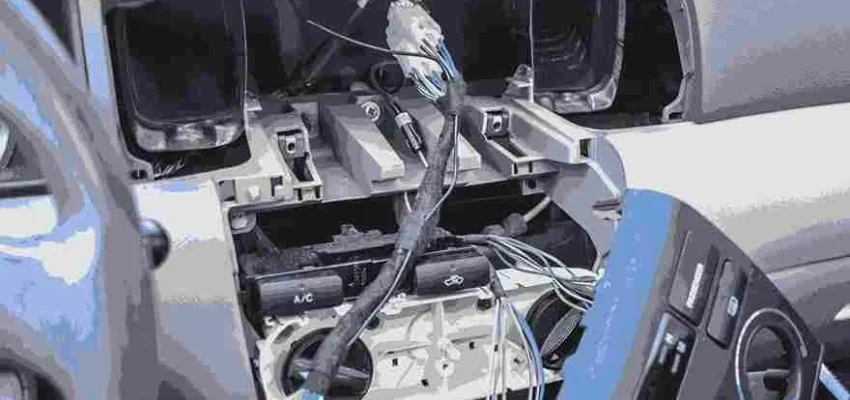
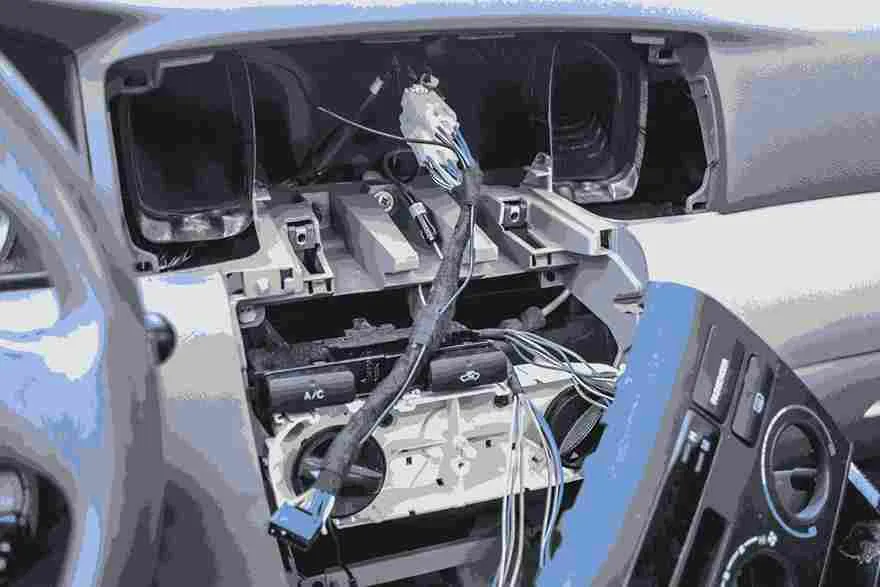
When you want to replace or upgrade your Toyota Corolla’s radio, understanding the wiring diagram is essential for a smooth, successful installation.
The wiring system in your vehicle is a complex network, and each wire serves a specific function. This guide will help you identify and understand the different wires in your Corolla’s radio setup, ensuring an easier and safer installation process.
Whether you’re upgrading to a newer stereo system or simply replacing a faulty radio, this guide provides all the essential information about wire colors, configurations, and troubleshooting common issues.
Tools and Materials Required
To work on your Toyota Corolla’s radio wiring, you’ll need a few essential tools and materials. Having these ready before starting will make the process much smoother.
A wire stripper is necessary for cutting and peeling back wire insulation, while a multimeter helps you verify connections and check for continuity.
Additional connectors or crimpers may be helpful, as well as electrical tape to secure wires once connected. Safety gear like gloves and eye protection is also recommended, as vehicle electronics can carry voltage.
Understanding Wire Color Codes in Toyota Corolla
Each wire in a Toyota Corolla’s radio wiring system has a unique color that indicates its purpose, making it easier to identify connections.
For example, the yellow wire typically carries constant power and keeps your radio’s memory functions active even when the car is off.
The red wire usually supplies switched power, meaning it only receives current when the ignition is on. Black wires are generally ground wires, connecting the stereo to the vehicle chassis.
Speaker wires have color pairs – one solid and one striped – and are assigned to different speakers within the car. White and gray pairs typically connect to the front speakers, while green and purple pairs go to the rear speakers.
Recognizing these color codes can help you avoid incorrect connections and ensure everything works as intended.
Radio Wiring Diagram for Different Toyota Corolla Models
Each Toyota Corolla model year may have slight variations in its wiring layout. Here is an overview of the radio wiring diagrams for different Corolla model years.
Pre-2000 Models
Older Toyota Corolla models often have more straightforward wiring, but color codes may differ from newer versions. Power wires might be red or yellow, while ground wires are typically black.
Speaker wires may also vary in color, so double-checking your model’s specific diagram is advisable if you own an older Corolla.
2000-2010 Models
This era introduced more standardized color coding, making it easier to connect a new stereo. In most 2000-2010 models, the yellow wire carries constant power, the red wire is for switched power, and black is for ground.
Speaker wires should follow the typical color pairing pattern for front and rear connections. Some models in this range may also include steering wheel controls or auxiliary inputs, which might require additional adapters.
2011-2020 Models
As technology evolved, so did Toyota Corolla wiring systems. Models from 2011 to 2020 may have added features such as Bluetooth and touchscreen interfaces.
Although the main wiring colors often remain consistent, additional wires for new features may appear. These extra wires may be color-coded to match specific functions, like Bluetooth connectivity or hands-free call controls.
2021-Present Models
The latest Toyota Corolla models feature advanced infotainment systems with complex wiring. In addition to the standard power and speaker connections, these models often include extra wiring for high-tech features such as GPS, Wi-Fi, and integrated apps.
Installation might require additional adapters for compatibility with aftermarket radios. Always refer to a current wiring diagram when working on newer models to avoid damaging sensitive electronics.
Steps for Installing a New Radio in Toyota Corolla
To install a new radio in your Toyota Corolla, start by disconnecting the car’s battery to ensure safety. Remove the dash panel around the radio, which may require specific tools or a gentle pry to avoid damaging clips.
Once the radio is accessible, disconnect the old stereo’s wiring harness.
Connect your new radio’s wiring harness according to the color codes mentioned earlier. Ensure the yellow wire connects to constant power, red to switched power, black to ground, and each speaker pair to its corresponding color. If installing an aftermarket radio, you might need an adapter to match Toyota’s wiring system.
Once everything is securely connected, turn the car on to test the radio functions before reassembling the dash panel. Make sure each speaker works properly and that the radio retains memory settings. If all is well, reinstall the dash panel, and enjoy your newly installed radio.
Troubleshooting Common Wiring Issues
Sometimes issues arise after installation, such as the radio not turning on, sound only coming from certain speakers, or static interference.
First, double-check all connections to ensure wires are securely attached to their corresponding colors. For example, if the radio fails to power on, examine the yellow and red wires to confirm they’re receiving power.
Static or weak audio signals often stem from loose speaker connections or grounding issues. Ensure each speaker wire is properly attached, and verify that the ground wire is securely connected to a metal point on the car chassis.
Using a multimeter can also help troubleshoot by verifying the continuity of connections and identifying problem areas in the wiring.
Upgrading to Aftermarket Radios
When upgrading to an aftermarket radio in a Toyota Corolla, you may need additional adapters for compatibility. Most aftermarket radios follow a universal wiring layout, but Toyota’s proprietary wiring might require a specialized harness adapter.
Additionally, if your car has steering wheel controls, you’ll need a separate adapter to retain those functions with the new stereo.
Aftermarket systems may also need an antenna adapter to ensure good radio reception. This adapter connects the new stereo to your car’s built-in antenna, so you don’t lose radio signal quality.
Be sure to check which adapters are compatible with your specific model before beginning the installation.
Frequently Asked Questions
Many Toyota Corolla owners have questions about radio wiring and installation. One common question involves the use of an aftermarket harness adapter. Using an adapter allows you to connect an aftermarket radio without cutting or splicing factory wires, preserving the vehicle’s original wiring.
Another frequent inquiry is about handling extra wires found in the wiring harness, such as those for steering wheel controls or backup cameras. If your new radio does not support these features, securely cap off unused wires with connectors to prevent electrical shorts.
Understanding what each wire does and how to connect it is crucial, as incorrect connections can cause the radio to malfunction or even damage the car’s electrical system.
Following Toyota’s wiring diagram will guide you through the process and help avoid errors.
Successfully installing or upgrading your Toyota Corolla’s radio depends on understanding the wiring diagram and following it carefully.
Each wire has a specific role, and knowing these color codes will help you make the right connections for a functional setup.
Take safety precautions, verify connections, and refer to your model’s specific wiring diagram for the best results.

